A Brief History of Corn Muffins
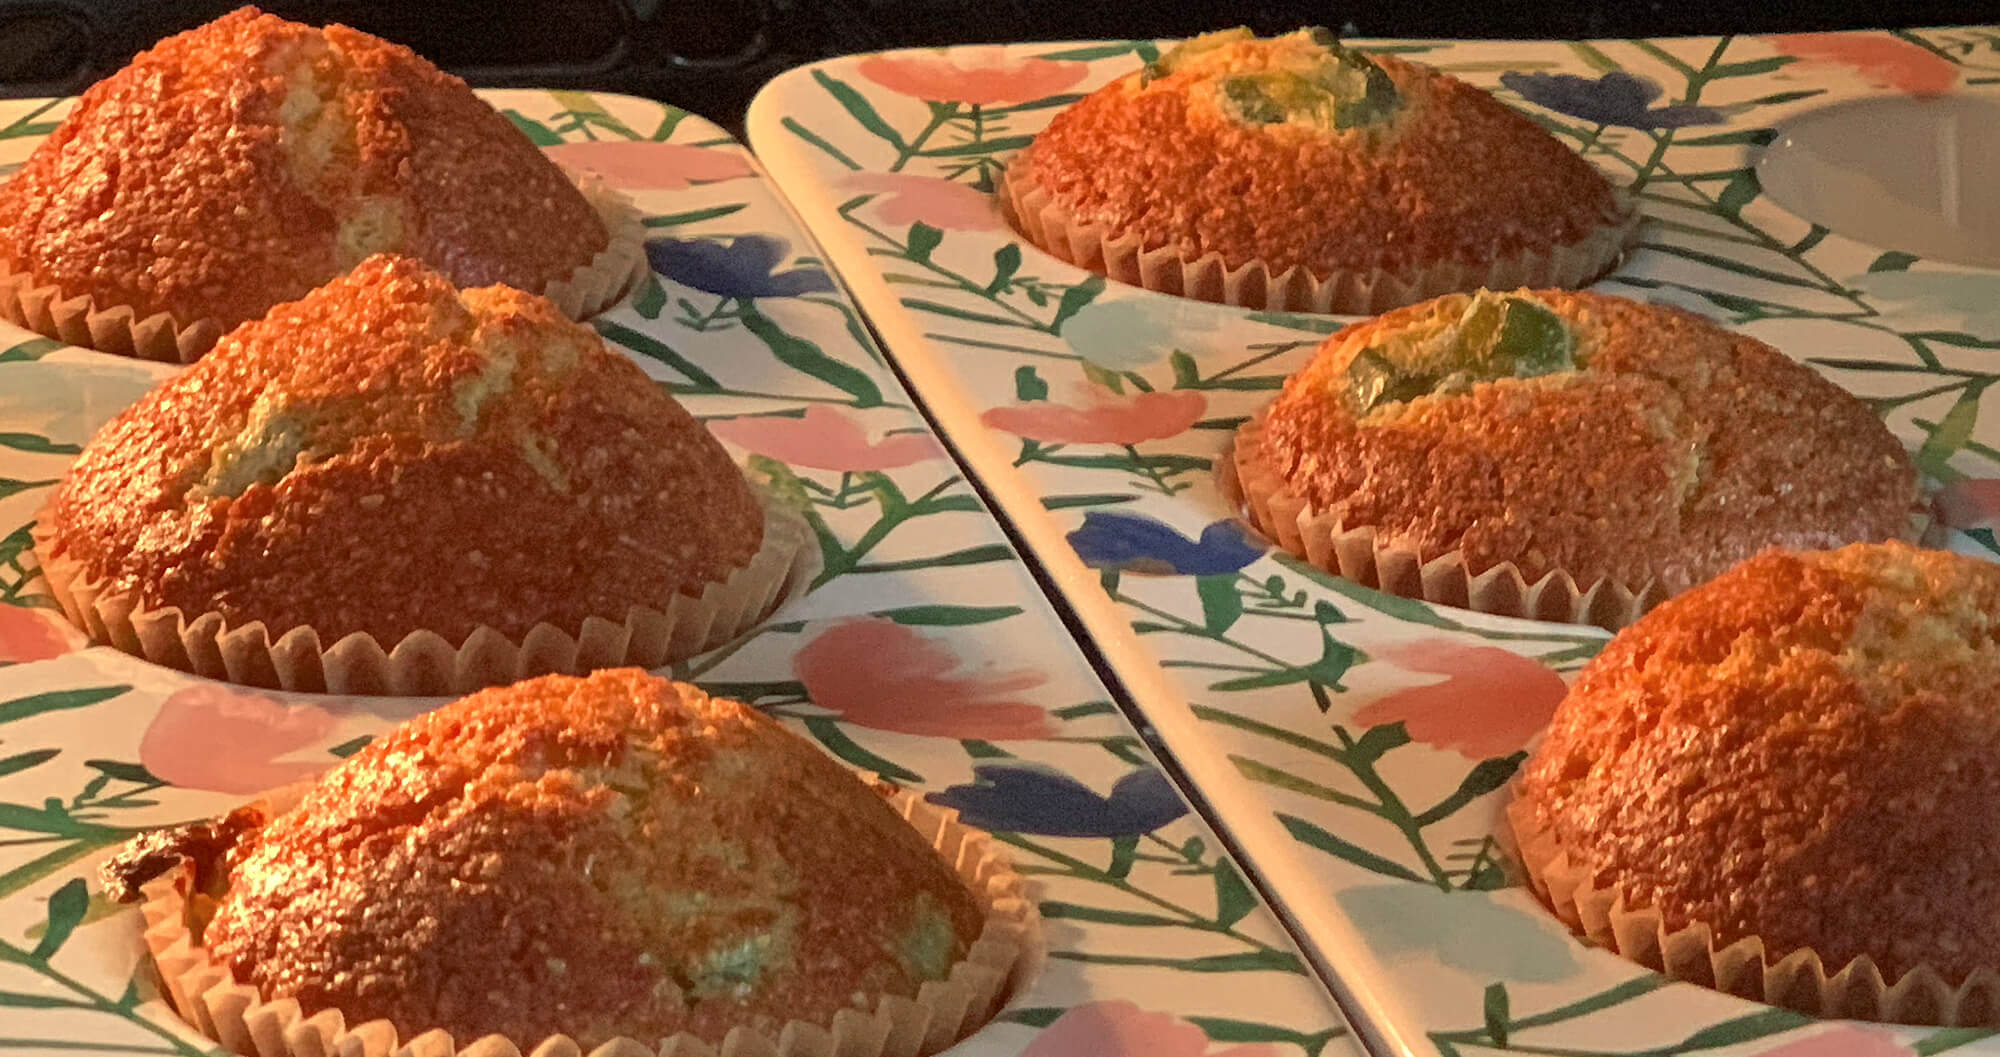
Corn muffins trace their roots to Native American cooking, where ground corn—or maize—was a staple. Early US settlers then adopted cornmeal as a key ingredient, blending it with European baking techniques to create cornbread. The muffin variation emerged in the 19th century with the invention of baking soda and baking powder, leading to the light, fluffy texture we know today. Cornmeal-based breads then became a Southern staple, served alongside hearty meals.
Why We Use Flour in Our Honey Butter Corn Muffins
Ask any true southerner and they’ll tell you straight-up that cornbread does not use flour! (yes, it can be that passionate of a subject!). Traditional Southern cornbread has a more crumbly and dense texture that’s perfect for soaking up rich dishes like stews.
However, our corn muffins take a different approach by incorporating a 1:1 ratio of all-purpose flour-to-cornmeal. The addition of flour creates a softer, more cake-like texture that holds the muffin together a bit better, while still allowing the cornmeal’s signature flavor to shine. This balance of structure and tenderness helps these muffins serve as a stand-alone side dish or snack, appealing to a wide range of pairings.
Pairing Corn Muffins with Your Favorite Meals
Corn muffins are an awesome side dish for a variety of meals! Pair them with hearty chili, a smoky barbecue spread, or even a fresh salad to balance out bold flavors. Their slight sweetness also makes them a wonderful breakfast option—just add a little more honey butter, and you’ve got a quick morning treat.
What Internal Temperature to Cook Corn Muffins?
Remove the corn muffins from the over once their internal temperature is between 195°–200° F (90°–93° C). Cooking by internal temperature is the only way to ensure consistent, precise, moist, and delicious muffins (& cornbread!) every single time.
Additional Corn Muffin Tips for Success:
What makes these corn muffins so irresistible is their moist, fluffy texture. The combination of melted butter and honey locks in moisture while adding a subtle sweetness that complements the cornmeal.
- Gluten is not your friend in this recipe, so avoid developing it and do not overmix the batter; this can lead to dense muffins. Mix until just combined.
- Ensure your eggs are at room temperature before mixing. This helps to create a smoother batter and encourage even baking.
- Let the batter rest for 10 minutes in the fridge before baking to improve the final texture.
- Cook according to internal temperature; the butter used in this recipe can cause the muffin tops to brown more quickly, tricking you into removing them from the oven before they’re truly done cooking.
Honey Butter: The Game-Changer
Like any compound butter, honey butter elevates corn muffins & bread by adding a rich, sweet, and creamy element that complements the subtle natural sweetness of corn. Combining softened butter and honey creates a condiment that enhances each bite, making the muffins even more indulgent and satisfying. We then take this even further by incorporating honey butter directly into the batter!
How to Make Honey Butter—Detailed Steps
Making honey butter is quick and simple, but the key is achieving the perfect balance of sweetness and creaminess.
- Mise en place.
Gather a bowl, whisk or fork, unsalted butter, honey, and kosher salt.
Tip: we use unsalted butter so we control the flavor and level of seasoning in our final result. - Soften the butter.
Be sure your butter is softened, but not melted. Room temperature butter is perfect! - Add honey to the butter.
Using a fork or a whisk, whip the butter until it’s light and fluffy while gradually adding in high-quality honey. - Season.
Once you’ve added a decent amount of honey, add a pinch of kosher salt and whip to thoroughly combine. - Fine-tune to your liking.
Taste as you whip, and adjust sweetness (honey) and seasoning (salt) to your liking. - Store.
Store your honey butter in a sealed container, in the fridge for up to a month or on the counter for up to 1 week. Enjoy!
Variations on Honey Butter Corn Muffins & Cornbread, in General
You don’t have to use honey butter in your corn muffins for them to be delicious! You don’t even have to make muffins; here are some alterations you can make to our recipe:
- Savory corn muffins: omit the honey from the recipe for a more savory (and classic) flavor (make sure you keep that butter, though!).
- Jalapeño cheddar corn muffins: give your muffins the kick they deserve by adding 2 oz. of shredded cheddar cheese + 2 oz. chopped jalapeños. Thank me later.
- Cast iron cornbread: skip the muffin pan and pour the prepared batter into an 9-inch pre-heated cast iron pan! Being very careful, swirl about a tablespoon of butter around the hot pan before adding the batter so the cornbread doesn’t stick.
Tip: if you’re doubling the recipe, use an 11 or 12-inch pan.
How to Make Cornbread Without Eggs
Eggs are a hot topic right now, so learning how to bake without them is a valuable trick to master.
- Make “flax egg”
For each egg you need to substitute, mix 1 tablespoon of ground flaxseed with 3 tablespoons of water, let sit for 5 minutes to thicken, then add to your batter.
Tip: for this corn muffin recipe, you will need 2 tablespoons of ground flaxseed to 6 tablespoons of water. - Use applesauce or yogurt
Use 1/4 cup (about 65 grams grams) of applesauce/yogurt per egg. Tip: for this corn muffin recipe, you will need 1/2 cup of either applesauce/yogurt.
How to Make Corn Muffins Gluten‑Free
Since we already call for gluten-free cornmeal in our recipe, the easiest option is to make traditional southern corn muffins by completely omitting flour. But, if you’d like to keep the ability for the muffins to retain their shape a bit better, use a gluten-free 1:1 flour. We find Bob’s Red Mill, 1 to 1 Baking Flour gives gluten-free baked goods a bit better texture, but King Arthur Measure for Measure Gluten-Free Flour is also a fantastic option.
Also, be sure your other ingredients do not have any gluten-based fillers or thickening agents, like “modified wheat starch” or “modified food starch.” Your best bet is to always look for the “certified gluten-free” label.
Help Whisks & Giggles remain ad-free by making a purchase after following links on our site. We may make a small commission at no cost to you—learn more about our affiliate links.What Can I Do with Old/Stale Corn Muffins?
Freshly baked muffins are always best but leftovers can be gently reheated in the oven at 350° F/180° C (you can use a microwave but the bread may get gummy).
However, there is an old southern trick for turning dried out/stale cornbread into a stand-alone snack: soak it in a glass of milk (or buttermilk, if you want to be a true southerner). Then scoop it out with a spoon like you’re eating cereal—I promise you, this is a real thing!
Why You’ll Love Our Honey Butter Corn Muffin Recipe
Cornbread has been beloved for generations—whether served with chili, barbecued meats, part of a holiday spread, or on its own as a comforting snack. For those looking to add a modern twist to a traditional side dish, our honey butter cornbread is a staple that never disappoints.

 By Jen Gadus | Published December 30, 2024


